Showing posts with label Remake. Show all posts

la vie du cirque abandonné

For some, the circus holds magical memories of childhood captivation and entrancement. For anyone who knows me well, they would probably guess that the razzle dazzle of the circus was simply not for me. The noise, the people, the enourmous tent and large animals are overwhelming to my sensibilities.

But this magical place- Peru Indiana- for me, has the makings of a circus I could wrap my mind around. The home of the circus hall of fame and the winter home of many of America's greats of the big-top, Peru is like a scene from some strange and slightly cautionary children's tale, a mesmerizing and curious world in a bygone time.

Some of my photos from the visit explain better than I ever could.


Odd, mysterious, slightly surreal and almost impossibly existent; this is my kind of circus. 

Princess Dress from T-shirts aka Purim on the Cheap

I'm not sure what it is that compels me to make my kid's costume instead of buying them. It just goes against my DIY nature. Also, I'm fairly sure I never had a store bought costume in my lifetime.

So here's the princess dress made entirely out of T-shirts.

Stack of shirts


 Yellow shirt, minus sleeves = skirt


 very tedious cutting = puffy princess sleeves


shirt and skirt set for maximum playability


Sassy Princess (notice the cape)


T-shirt dress = happy princess

Connecting Worlds? Another Anthropologie Jewelry Remake

I pulled this photo of a possible necklace remake a mere month ago from the Anthropologie online catalog but it has already been overpriced, marked down, clearanced and pushed aside. Time to make my own.

This is Anthropologie's in white


 This is mine in black


I'm a little tired of grosgrain ribbon so I reversed the translucent beads and grosgrain for sheer ribbon and iridescent beads. However, I had to wait for a day trip to Jerusalem to find the right materials to bring you...

Anthropologie's Connecting Worlds Necklace Remake Tutorial

Materials: Needle, thread, beads and 1 meter of ribbon in similar width to bead size


 Step 1). Tuck end of your ribbon and begin stitching in 1/2 inch intervals.


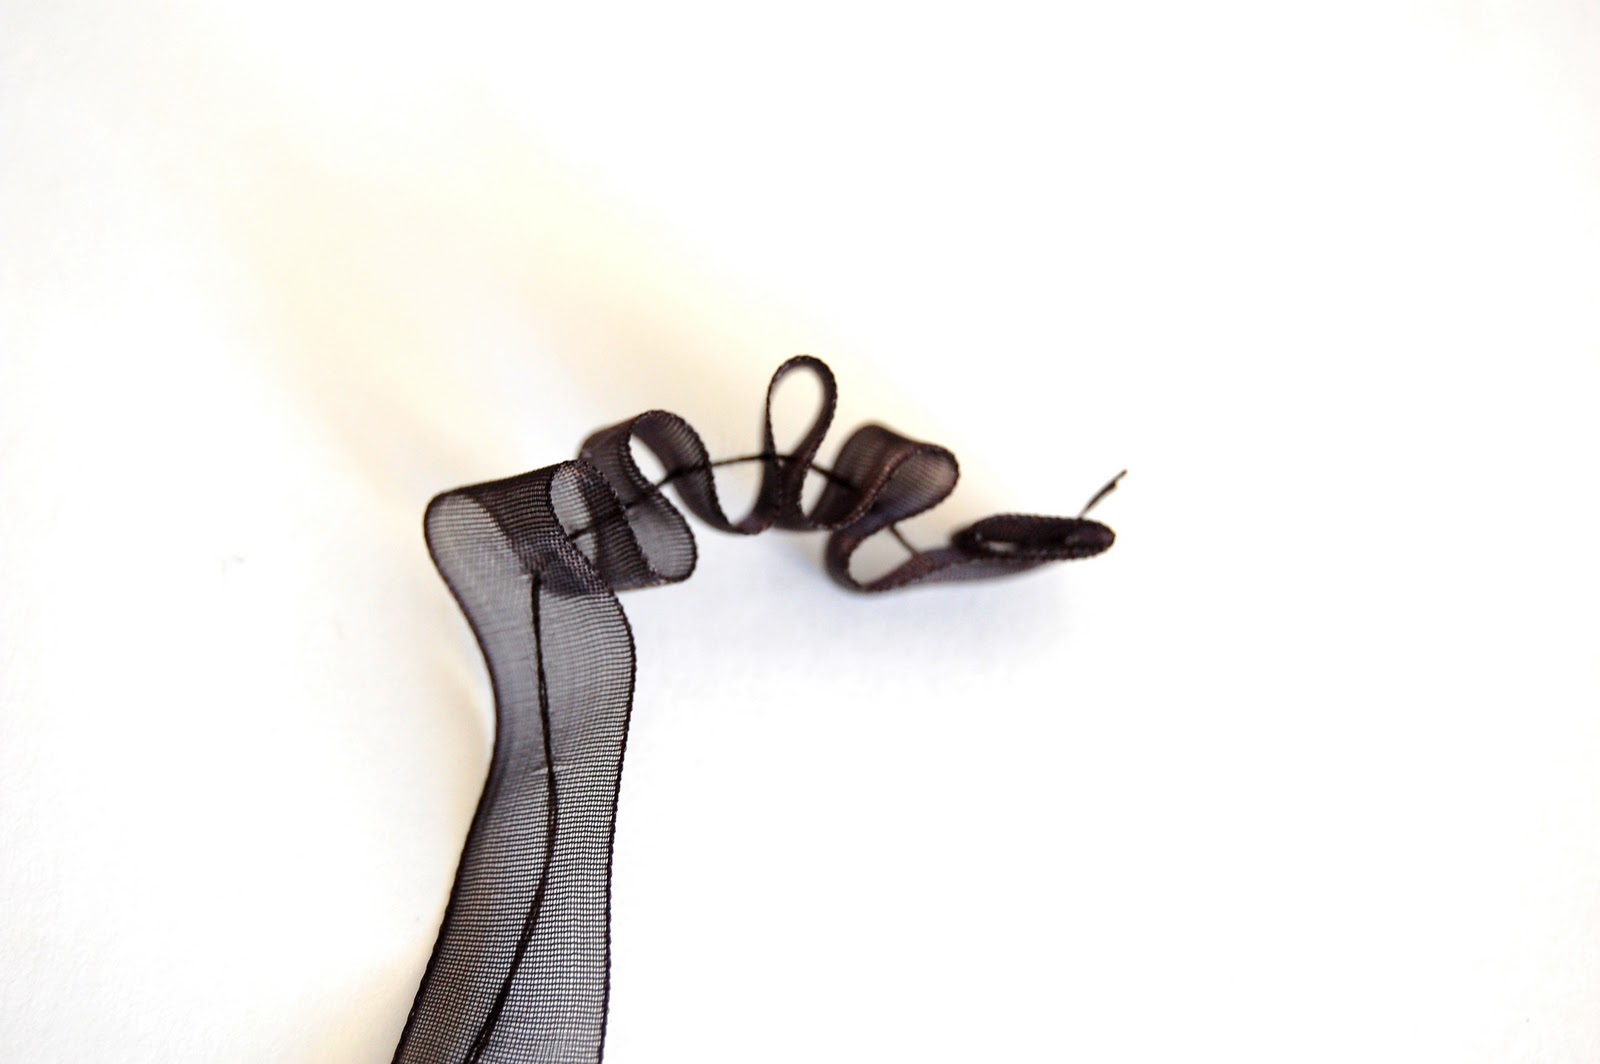
Step 2). Begin bunching the ribbon to your liking (I like the loose ribbon ruffle)


Step 3). String beads between ruffles, continue sewing through ribbon and beads.


*Tip: To keep your beads close to one another you may want knot between beads, holding each one in place.

Step 4). When you've finished with your desired length of beads, finish sewing through your ribbon in 1/2 inch intervals as you did in the first step.  Knot to secure and finish with closure at either end.


Voila! 


In short, this is a super simple project (maybe a 1/2 hour of work) and it's a project that is just more fun to make than to buy. 

Estimated Cost for DIY version: $5 if you buy expensive beads and ribbon (I did not). 
Estimated Cost for authentic Anthro Necklace: Too much, I don't remember an actual price but you and I both know it costs too much if it can be crafted up by you instead. 

Think of it as Anthro-Couture!

Fancy Rainbows for Everyday

I have lamented before, but if you are new here you should know that my child is a "fancy" child. I'm learning to work with it.

After seeing a small strip of rainbow ribbon I'd been storing away in the stash, my 4 year old became wide eyed and full of delight.

"That's just like Fancy Mancy! It's like her headband!" 


Lo and behold, it was true. "Fancy Nancy, Every Day is Earth Day," features Nancy (or Mancy as she is known to us) with a rainbow headband. The kid already saw the supplies, how could her mother not agree to make one for her?

Alright crafty mom, now make it. Here's how.

 
Materials:
-18 inches of wide grosgrain rainbow ribbon
-4 inches of elastic tape (any fitting width or one rubber hairband)
-White felt scrap for cloud
-Rainbow assortment of embroidery floss
-Basics-scissors, needle, paper pencil

 Step 1). Draw a cloud shape and cut two from white felt.

Step 2). With white thread, stitch around the outside of your clouds.

Step 3). Draw interlocking hearts on one side of your clouds, break out the rainbow thread and start embroidering your pattern. Set aside for about 2 minutes to make headband.

Step 4). Measure your head to make sure it isn't much larger or smaller than my measurements. Press ends of ribbon about an inch (give or take) turning inward, *secure the elastic so that the final measurement of the headband will allow it to fit snugly on your head. Secure your embroidered cloud to side of headband.

*the elastic only peeks out a few inches at the bottom but should be strong enough to keep your hair back and the ribbon on your head.

Voila!


 This tutorial would probably work for any kind of ribbon to headband transformation but around here we are only concerned with rainbows and clouds as accessories like Mancy.

Earmuff Headband Crochet Pattern

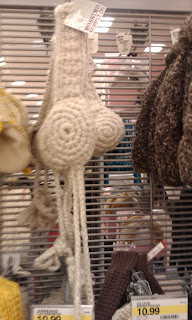
When visiting the States a few months back I was drawn to quite a few retail items that should clearly be craft-it yourself projects in the making. One perfect example, these silly yet ingenious earmuff headband wraps found at Target (sorry about the shoddy camera phone picture).

My husband literally had to pull me out of the accessories aisle to stop me from buying them for a ridiculous $20, if I recall correctly. And then came the magic words..."Why don't you just make them?"

Wait, did my husband really just green-light a whole new project to *sit dormant around the house until my creative juices lulled me back toward the memory of how badly I wanted this thing again? Why yes. I do believe he did.

*Expected completion time for any given project can be months or hours depending on how long my adrenaline and interest carry me. I hear some people find this quirky and endearing.


So here's a free pattern for the Crocheted Earmuff Headband
*Warning this is my first pattern so bare with me and let me know if you find mistakes also, if you've ever crocheted anything, you probably can eyeball this project and crochet it by instinct fairly easily.


Materials
Bulky or Extra Bulky Weight Yarn (way less than one ball will do)
5.5 MM "I" or even "J" crochet hook  (Check your gauge hooks on preference)
Craft needle 

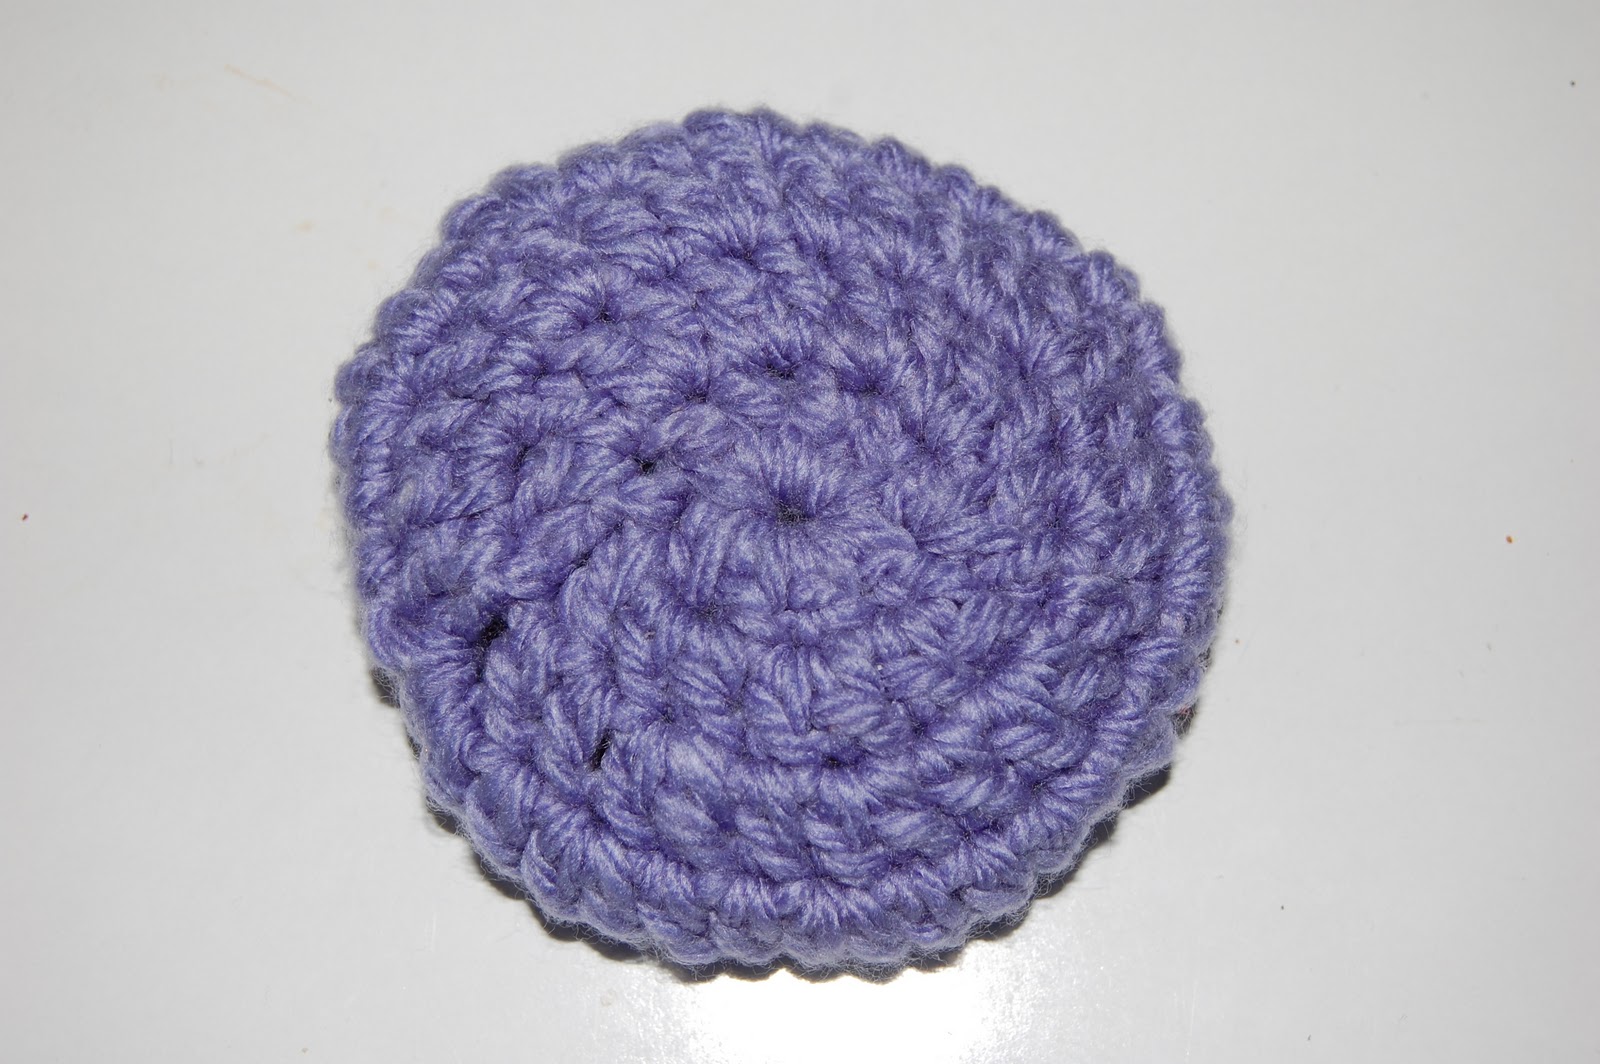
Notes: You can either work continually in rounds or Slip-stitch your final stitch to your first in the row and Chain 3 to count as first Double Crochet stepping up in your next row (my example steps up each row). Also, I used a fairly bulky acrylic which gave a finished size of about 4 inches or 10 cm diameter, they're one size fits most unless you'd like them bigger or smaller.
Earmuff (make 2)
Starting: Either Chain 3 and return to first loop to start or create Magic Circle.
Round 1: Double Crochet 10 into loop (10 stitches total)
Round 2: 2 DC in each stitch (20 total)
Round 3: *2 DC in first stitch 1 DC in next, repeat from* (30 total)
Round 4: *2 DC in first stitch 1 DC in next 2 stitches, repeat* (40 total)
Round 5: *1 DC in first 2 stitches, 1 Decrease in next, repeat* (30 total)
Slip-stitch to finish and weave in ends.

Headband (make 1)
Chain 36 (or check length you need from ear to ear, chain to that length)
Row 1: Double Crochet in each stitch, work in round (both sides of stitch) for 2 rows of 36 DC.
Continue around until reaching desired thickness. Slipstitch to finish ends.

*For my some one round is enough but you can continue with another "Round" of 36 DC on each side until you reach desired thickness of band. I chose this method so I have clear front and back to the headband to hold better to the top of the head as the edges curve in a bit.

Ties (make 2)
Make a simple 3 or 5 strand braid of about 8 inches to attach to bottom of of each earmuff, you can finish with a simple knot or a pompom if you're feeling extra cheeky.


Assembling All the Pieces: Check the crown of your head measurement one more time for final placement for each round earmuff piece and then stitch securely. Find bottom center stitch of each earmuff and secure braid. Have fun dancing around your house wearing your new creation because if you live where I do this is too extreme for the sweater weather we are experiencing and if you live somewhere with real winter like the Weather Channel  describes I can't imagine you would dream of going outside. Stay in and make another pair for your spouse, or a miniature pair for your cats, or some for the kids. Whichever creative drive strikes you.


This is the 2 year old who enjoys the earmuff headband far more than his sister.