Showing posts with label Free Pattern. Show all posts

Very Hungry Caterpillar Birthday Ideas. Part II: Cake

13 May 2013 11:52 by SarainAkko 0 comments
After much Googling for the perfect Very Hungry Caterpillar birthday cake, I decided that for baby 3's 1st birthday I would go way over the top with some sugar-dough painting. If you haven't ever worked with fondant or sugar-dough, it helps to look at the dough as clay; sticky, quick drying, finicky clay.

However, I took a slight gamble on painting the individual elements of this caking, hoping it would produce a watercolor-ish, Eric Carle inspired VHC birthday cake.

Here's how it turned out:


I started with a non-dairy pound cake recipe, lots of green gel food coloring.... and more fake "buttercream" frosting than I care to admit.

I think the most inspiring element of the Very Hungry Caterpillar is that the illustrations look vibrant and timeless, so I used the bright dots on the cake as well as in the invitations and other party elements. 

I got so caught up in this enormous cake that took us many weeks to eat (even more to sweat off) that I even made a few dozen cupcakes just in case we didn't e enough batter in our systems. 

The cupcakes were so ridiculously green, the kids weren't even sure if they were allowed to eat them. 


Trust me, they got over they got over their confusion.

The cupcake toppers and wrappers were just a few quick DIY projects, maybe a quick tutorial template to follow? Let me know if anyone is interested.

Lovey Hedgehog Adaptation for the Un-Valentine

You may not be aware, but Valentines day is actually totally foreign here in Israel. As a rule, you can usually count on most St. anything days being out. Some people might have a growing awareness that it's a big deal elsewhere, but culturally it just misses the mark.

Even though I grew up in the US distributing my handfuls of store bought, tear apart valentines with matching stickers, my children won't be receiving the same childhood memories. No classrooms decked out in cupids and hearts or the big sugary parties with the classroom moms. It's just not what goes on around here and I'm Ok with that.

BUT, there are so many great Valentines day crafts that have been circulating the blog world recently, I'm starting to get a creative itch for some projects that, although heart-based and adorable, but not overly Valentine-ish.

I've always loved simple softie making patterns, and this is a perfect one from LollyChops 
who created and shared this excellent pattern and step-by step tutorial about a year ago for a sweet Hedgehog named Hamie. Go check it out!

To get over my "heart ache" (sorry) my matching hedgies have bright colored hearts.


 My kids' hedgehogs are way into each other.


This is a great quick project and the outcome is so terribly cute, it's worth all of the tiny cutting to make the furry bits. Originally, all the tiny hearts were larger scraps so it was great to be able to plow through a bit of that left over to remake something adorable.

I'm a fan of plain muslin for dolls and softies, it's like a blank canvas for your imagination. Even if you're the biggest fan of February 14th, this hedgehog would rock any way you craft it up.

Earmuff Headband Crochet Pattern

When visiting the States a few months back I was drawn to quite a few retail items that should clearly be craft-it yourself projects in the making. One perfect example, these silly yet ingenious earmuff headband wraps found at Target (sorry about the shoddy camera phone picture).

My husband literally had to pull me out of the accessories aisle to stop me from buying them for a ridiculous $20, if I recall correctly. And then came the magic words..."Why don't you just make them?"

Wait, did my husband really just green-light a whole new project to *sit dormant around the house until my creative juices lulled me back toward the memory of how badly I wanted this thing again? Why yes. I do believe he did.

*Expected completion time for any given project can be months or hours depending on how long my adrenaline and interest carry me. I hear some people find this quirky and endearing.


So here's a free pattern for the Crocheted Earmuff Headband
*Warning this is my first pattern so bare with me and let me know if you find mistakes also, if you've ever crocheted anything, you probably can eyeball this project and crochet it by instinct fairly easily.


Materials
Bulky or Extra Bulky Weight Yarn (way less than one ball will do)
5.5 MM "I" or even "J" crochet hook  (Check your gauge hooks on preference)
Craft needle 

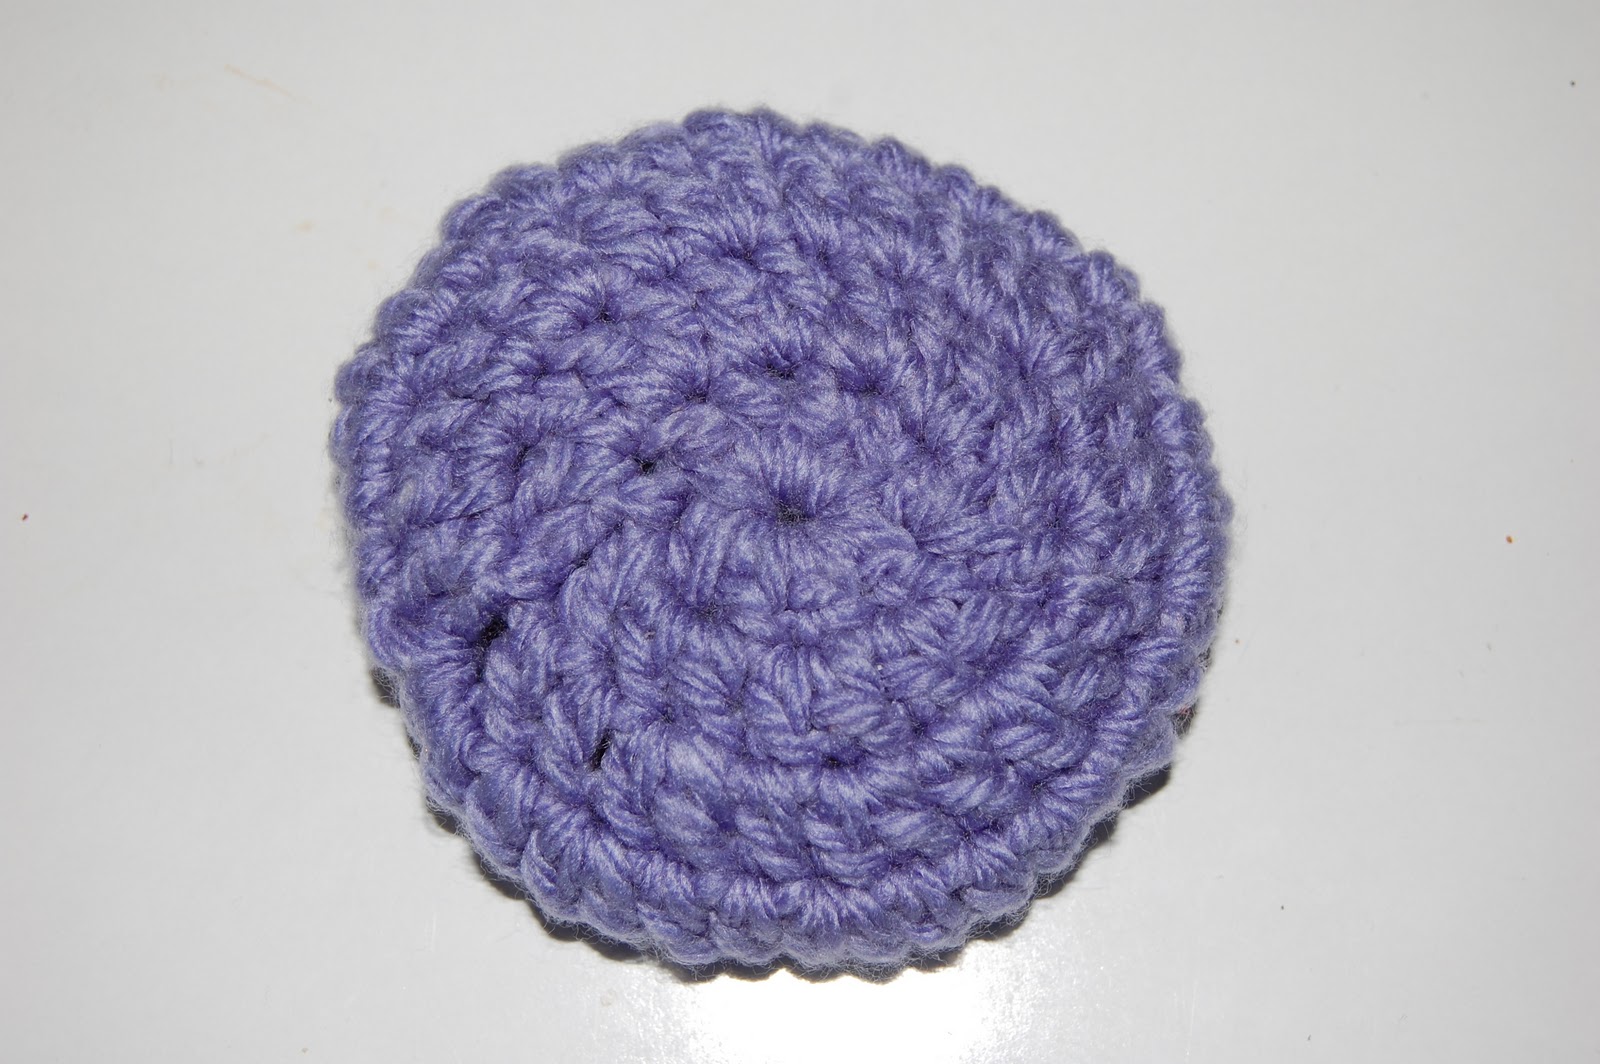
Notes: You can either work continually in rounds or Slip-stitch your final stitch to your first in the row and Chain 3 to count as first Double Crochet stepping up in your next row (my example steps up each row). Also, I used a fairly bulky acrylic which gave a finished size of about 4 inches or 10 cm diameter, they're one size fits most unless you'd like them bigger or smaller.

Earmuff (make 2)
Starting: Either Chain 3 and return to first loop to start or create Magic Circle.
Round 1: Double Crochet 10 into loop (10 stitches total)
Round 2: 2 DC in each stitch (20 total)
Round 3: *2 DC in first stitch 1 DC in next, repeat from* (30 total)
Round 4: *2 DC in first stitch 1 DC in next 2 stitches, repeat* (40 total)
Round 5: *1 DC in first 2 stitches, 1 Decrease in next, repeat* (30 total)
Slip-stitch to finish and weave in ends.

Headband (make 1)
Chain 36 (or check length you need from ear to ear, chain to that length)
Row 1: Double Crochet in each stitch, work in round (both sides of stitch) for 2 rows of 36 DC.
Continue around until reaching desired thickness. Slipstitch to finish ends.

*For my some one round is enough but you can continue with another "Round" of 36 DC on each side until you reach desired thickness of band. I chose this method so I have clear front and back to the headband to hold better to the top of the head as the edges curve in a bit.

Ties (make 2)
Make a simple 3 or 5 strand braid of about 8 inches to attach to bottom of of each earmuff, you can finish with a simple knot or a pompom if you're feeling extra cheeky.


Assembling All the Pieces: Check the crown of your head measurement one more time for final placement for each round earmuff piece and then stitch securely. Find bottom center stitch of each earmuff and secure braid. Have fun dancing around your house wearing your new creation because if you live where I do this is too extreme for the sweater weather we are experiencing and if you live somewhere with real winter like the Weather Channel  describes I can't imagine you would dream of going outside. Stay in and make another pair for your spouse, or a miniature pair for your cats, or some for the kids. Whichever creative drive strikes you.


This is the 2 year old who enjoys the earmuff headband far more than his sister.