Back to School DIY, Return of the Trapperkeeper

I remember the excitement of new school supplies. The fresh notebooks, the perfect folders and does anyone have a soft spot for Lisa Frank TrapperKeepers?

My oldest began first grade today, proud as pie of her new backpack (nobody in a school of a few hundred girls has one like hers), super stocked about her pencil case and the only caveat is that all her notebooks, folders, pencils must be standard blah blah blah.


Seriously, blah. 

She goes to a school that has asked parents to buy brown paper notebooks, clear covers, yellow #2 pencils and white erasers. No distracting stickers, please! I've never encountered a list that killed the joy of school supplies so thoroughly.

I stuck to the letter of the law when buying her supplies, somehow knowing in the back of my mind that she will come home today and ask why she was the only girl in the entire school with blank and joyless supplies.  No way my motherly cohorts will resist the temptation of colorful store-bought vigor for back to school. I feel it in my bones that no other mother fears pissing off the teacher in the way that I do, but I also know that I have a few tricks up my sleeve.

Of all of the many directions given for supply purchases, the ringed binder did not come with a list of instructions, here's your instructions crazy rigid school supply list!

Tutorial for the best damn homemade fabric covered binder in this school.

Materials:
1 cheap ringed binder
1 fat quarter
felt scrap
fabric flower pattern
random trimming scraps
needle and thread


Before sewing anything, try to iron out the the fat quarter or fabric scrap you choose as a base, it probably won't help a ton but it may lessen the folds. I didn't prewash because I live on the edge, and because this is fabric for a trapper keeper, not a wearable work of art. 


Measure out the size of your binder when it lays folded and begin folding the edges of your fabric over the top, just as you would if covering a book with a paper-bag. I used packing tape to hold the edges before securing with embroidery thread.


Here's some not too fancy needle work securing the corners of the fabric. If I had stopped here with this step, the cover would have been a pretty weakly secured case as the fabric didn't provide for deep pockets to tuck the edges in.


Enter the rick-a-rack and brick-a-brack for jazzing things up.


I went with my favorite go-to felt peony template for decorations and added some somewhat coordinating ribbon. To secure the ribbon flower strip, I actually used the embroidery needle to sew through the cardboard of the binder in a few strategic places which also reinforce the weak design of the light fabric.


Simple enough right? I might try a larger cut of fabric next time which would be sturdier and interchangeable or more details with embroidery, but for now I'm pretty sure it's cool enough for a first grader. 


update: Hebrew readers will quickly notice what my neighbors all did, the binder opens backwards and turning it makes the butterflies upside down. My bad. 


la vie du cirque abandonné

For some, the circus holds magical memories of childhood captivation and entrancement. For anyone who knows me well, they would probably guess that the razzle dazzle of the circus was simply not for me. The noise, the people, the enourmous tent and large animals are overwhelming to my sensibilities.

But this magical place- Peru Indiana- for me, has the makings of a circus I could wrap my mind around. The home of the circus hall of fame and the winter home of many of America's greats of the big-top, Peru is like a scene from some strange and slightly cautionary children's tale, a mesmerizing and curious world in a bygone time.

Some of my photos from the visit explain better than I ever could.


Odd, mysterious, slightly surreal and almost impossibly existent; this is my kind of circus. 

It's been a long time baby

15 May 2011 10:11 by SarainAkko 2 comments
I've been a little busy as of late. 

Busy working and mothering and living and crafting and nourishing and hosting and cleaning and celebrating and running and occasionally coming up for air. 

This is the part where I take a breath.

Here's a little video I made of my newest creative exploit.

Enjoy!

Princess Dress from T-shirts aka Purim on the Cheap

I'm not sure what it is that compels me to make my kid's costume instead of buying them. It just goes against my DIY nature. Also, I'm fairly sure I never had a store bought costume in my lifetime.

So here's the princess dress made entirely out of T-shirts.

Stack of shirts


 Yellow shirt, minus sleeves = skirt


 very tedious cutting = puffy princess sleeves


shirt and skirt set for maximum playability


Sassy Princess (notice the cape)


T-shirt dress = happy princess

Key Fob Quickie, Crafts for the Office Continued

My personal key ring has just undergone some major work-related changes

From this...


To this.


My key ring used to be simple (really simple) but now  it looks like that big old set of janitor keys hanging around some dude's belt. Despite the fact that they are heavy and jingle and slow me down when I'm on the go, I actually do need a surprising amount of these keys on a constant basis now and am forced to find a way to hold them along with all the other junk I tote around at work.

Enter the handcrafted key fob.


The tutorials online abound for this sort of project but as I only have this hardware on hand the project looks something like this:

Find heavy scrap of fabric, sew tube inside out and turn to right side, top stitch into a hand-sized loop. Attach to key ring and top stitch to reinforce. Easily find your less hideous keyring in style.


The close observer may also notice that this is the same scrap of fabric which I used to make my pinch close coin purse that holds my daily travel fare. So now it's a matching set. Find the tutorial of the coin purse remake here.

Next office preparedness craft is a true essential for your desk or purse, not to be missed.

Back to the Office with Crafts, Necklace Tutorial (sort of)

I've recently rejoined the drudgery of the work-a-day, cubicle monkey world.

In actuality, I have a very nice private office and a predecessor who has graciously stayed on to train me as well as tidy the place before she throws me to the deep end. There's a full-sized fridge in my small department's kitchen and nobody has taken my food by mistake so far. Win, win, win on all fronts.

But I have never had an office so organized, so sterile and so in need of personalization. All
others had files and folders stacked to the ceiling, probably to hold up the walls up (non-profit charm). So while I still have clean office smell on my brain, I will be devoting the coming week to preparing myself and my office to co-habitate in style with a few simple office related projects.

Today's tutorial: ID Badge Holder that isn't gross! No, really! Not even a lanyard.

Materials:
Old "pearl" necklace or a few pearl beads- anything you have a dozen of
A bit of scrap ribbon, suede cord or necklace chain
A fabric flower-one you've prepared from chiffon scraps, purchased or re-purposed
Needle, thread, some basic jewelry findings.

Step 1). Grab your supplies


Step 2). String pearls, attach to ribbon, attach flower and pin your ID badge to the side.


Booyah! ID badge necklace for $0 in scrap material and no trips to the mall (priceless).

May not be much of a tutorial (sorry) but it's a heck of a lot better than the constant holes and snags in clothing from forgetting about the ubiquitous ID and its nasty little alligator clip.

There will be more office crafting, believe you me.

*Notice  left out my actual ID photo? I even had a chance to look it over and instead told the ID person that I was sure she knew what she was doing. Big mistake, trust no one to take a good picture of you.

Connecting Worlds? Another Anthropologie Jewelry Remake

I pulled this photo of a possible necklace remake a mere month ago from the Anthropologie online catalog but it has already been overpriced, marked down, clearanced and pushed aside. Time to make my own.

This is Anthropologie's in white


 This is mine in black


I'm a little tired of grosgrain ribbon so I reversed the translucent beads and grosgrain for sheer ribbon and iridescent beads. However, I had to wait for a day trip to Jerusalem to find the right materials to bring you...

Anthropologie's Connecting Worlds Necklace Remake Tutorial

Materials: Needle, thread, beads and 1 meter of ribbon in similar width to bead size


 Step 1). Tuck end of your ribbon and begin stitching in 1/2 inch intervals.


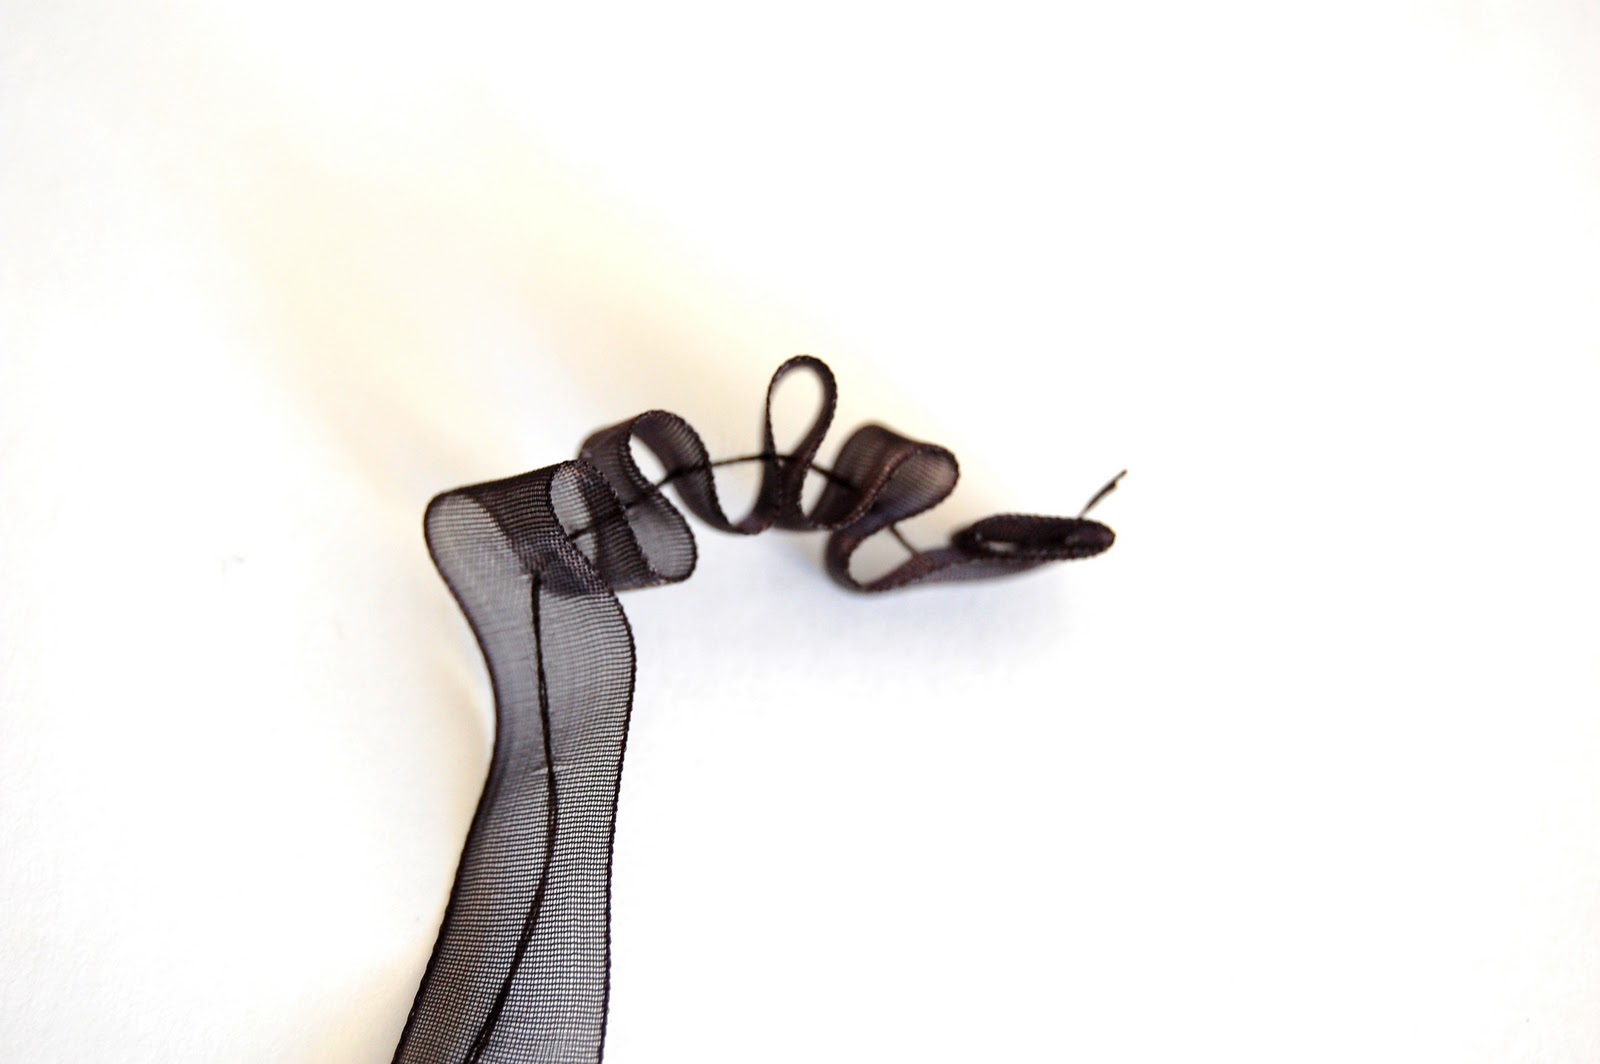
Step 2). Begin bunching the ribbon to your liking (I like the loose ribbon ruffle)


Step 3). String beads between ruffles, continue sewing through ribbon and beads.


*Tip: To keep your beads close to one another you may want knot between beads, holding each one in place.

Step 4). When you've finished with your desired length of beads, finish sewing through your ribbon in 1/2 inch intervals as you did in the first step.  Knot to secure and finish with closure at either end.


Voila! 


In short, this is a super simple project (maybe a 1/2 hour of work) and it's a project that is just more fun to make than to buy. 

Estimated Cost for DIY version: $5 if you buy expensive beads and ribbon (I did not). 
Estimated Cost for authentic Anthro Necklace: Too much, I don't remember an actual price but you and I both know it costs too much if it can be crafted up by you instead. 

Think of it as Anthro-Couture!

Martha Stewart and Joan Rivers Can't be Wrong

Roll your eyes if you must but Martha knows comedy (at least she can handle comedy being conducted in her general proximity, as long as it's tidy).

Even if you aren't a die-hard Martha fan, you're going to want to catch her and Joan Rivers crafting together. It's just that good!


And here's the Marc Jacobs clutch they were recreating with felt and a glue gun. 

Take a minute to process that; remake Marc Jacobs with felt and a glue gun?

I'm no fashionista, but as a sister to and mother of  2 girls with the fancy gene I can tell you that this is probably wrong. And yet, it's sooo right.This purse was made to be remade.

But I'm not entirely in love with the results of this craft session gone astray.

My four year old would be thrilled by the felt hearts, but I'm not taking/toting this anytime soon.

So without further ado: my own "Love Story Clutch."

Step 1). If you have some spare pleather lying around in fanciful colors you can start by crafting yourself a basic clutch, any size and shape you like will work. I found this great turquoise purse for about $2. Cutting apart an old purse saves you the trouble of finding the zippers and other important purse parts.

If you're crafting your own clutch from scratch, skip to the bottom, otherwise stay with me.
 

Step 2). Get out your seam ripper and pull out any unnecessary seams and decoration. I was able to salvage the original zipper and the nice casing that connects to the sides of the bag for a finished look.
 

Step 3). Since this bag had a solid backside and only a little bit of white trim on the front, I was able to remove the front stripe, cut the original height of the bag in half and get a clean surface to make my clutch. The only remaining work was to reinsert the original zipper.


With any luck, you should wind up with a clutch that looks roughly like this bellow.


Step 4). Go back to all the pieces you disassembled from your original purse. You should have plenty of material to start cutting some large hearts to cover your bag in. Use a template to trace the hearts out for consistency.


A Majority of the fabric I had leftover was turquoise. 


 But I wanted more colors because the original bag had a great mix of texture and tone.

Step 5). Get out your craft paint and paint some of your hearts in varying shades to match your clutch. Leave some hearts their original color*.


*Tip: I mix paint when I've finished with one batch of hearts by adding the new paint to my original color. This keeps your hearts mostly within the same color family or tone so everything is well coordinated.

Step 6). Let painted hearts dry then begin playing with different arrangements on the clutch. If you'd like the hearts to be more stiffly adhered to the clutch, glue around the edges. For a more playful texture, glue hearts in the center only. It's already a remake of a remake, you can have fun with it. I promise I won't tell Martha.

I'll be guest posting this tutorial over at Mine For The Making Sunday the 13th. Stop on by and say hello.